Monday 24 December 2012

Recycled Reader - Ruby Star Wrap-Along

Well, this will be my last post for my Ruby Star Wrap-Along submissions - I've had so much fun with the wrap-along and definitely had a great time stepping away from my sewing machine for this one!

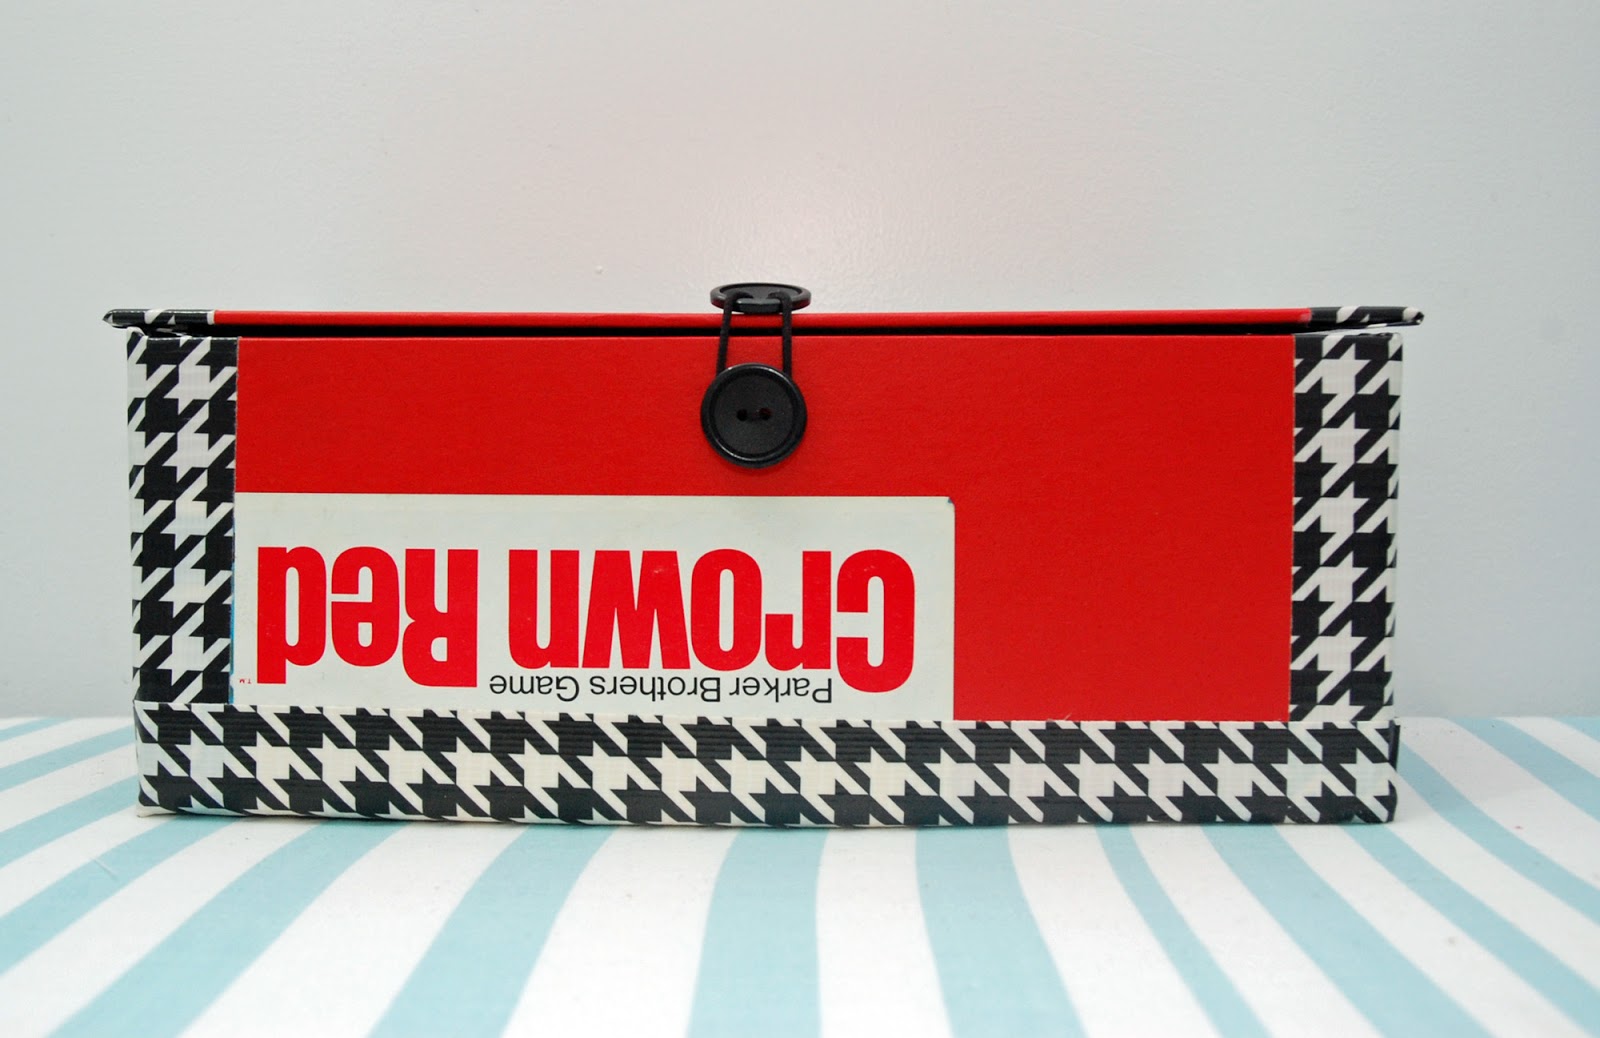
This project is based on the Recycled Reader in Ruby Star Wrapping.  Basically, take an old book (the pages were literally falling out of this one) and re-purpose it for something great!  My 'great' thing is a gift card holder, but there are so many options (like gifting old or new photos, keeping receipts...the possibilities are almost endless)!  :)


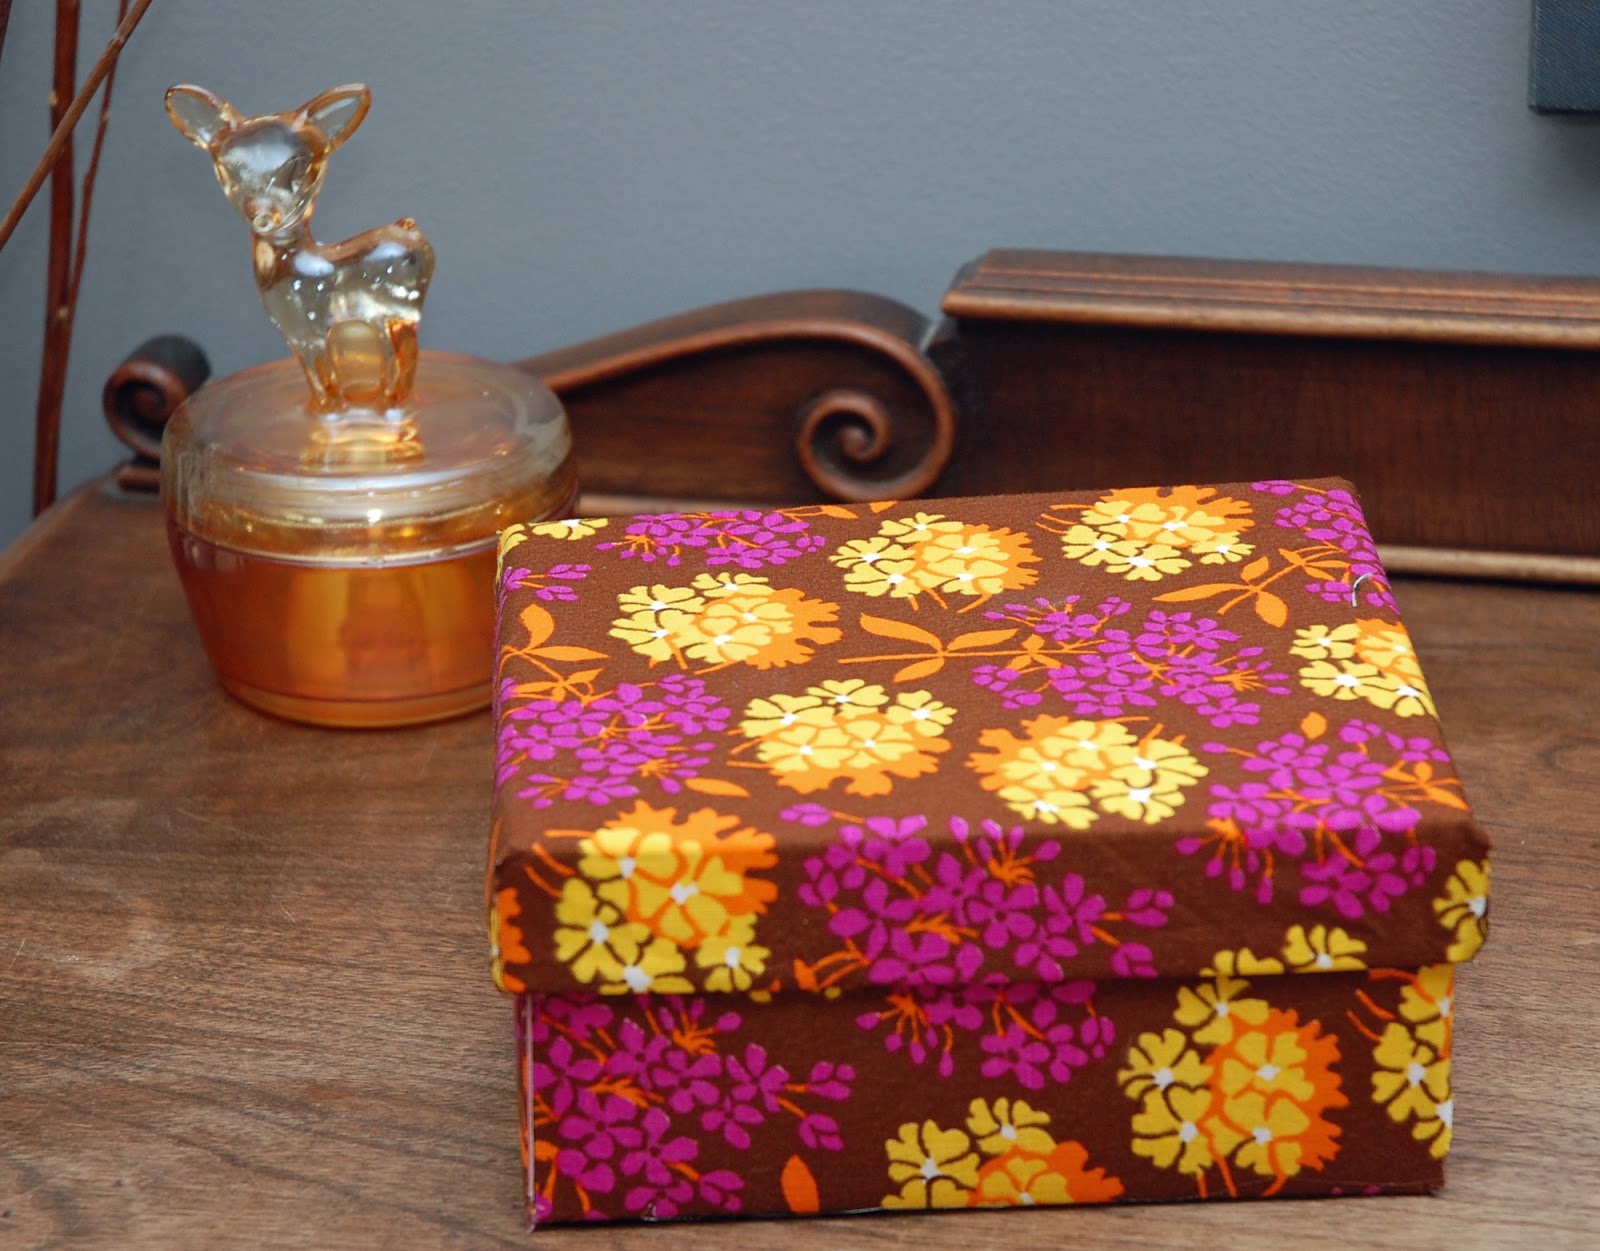
I found the book while thrifting (surprised?) and the design on the front of the book really grabbed me...it reminds me of vintage Pyrex and Flea Market Fancy.  


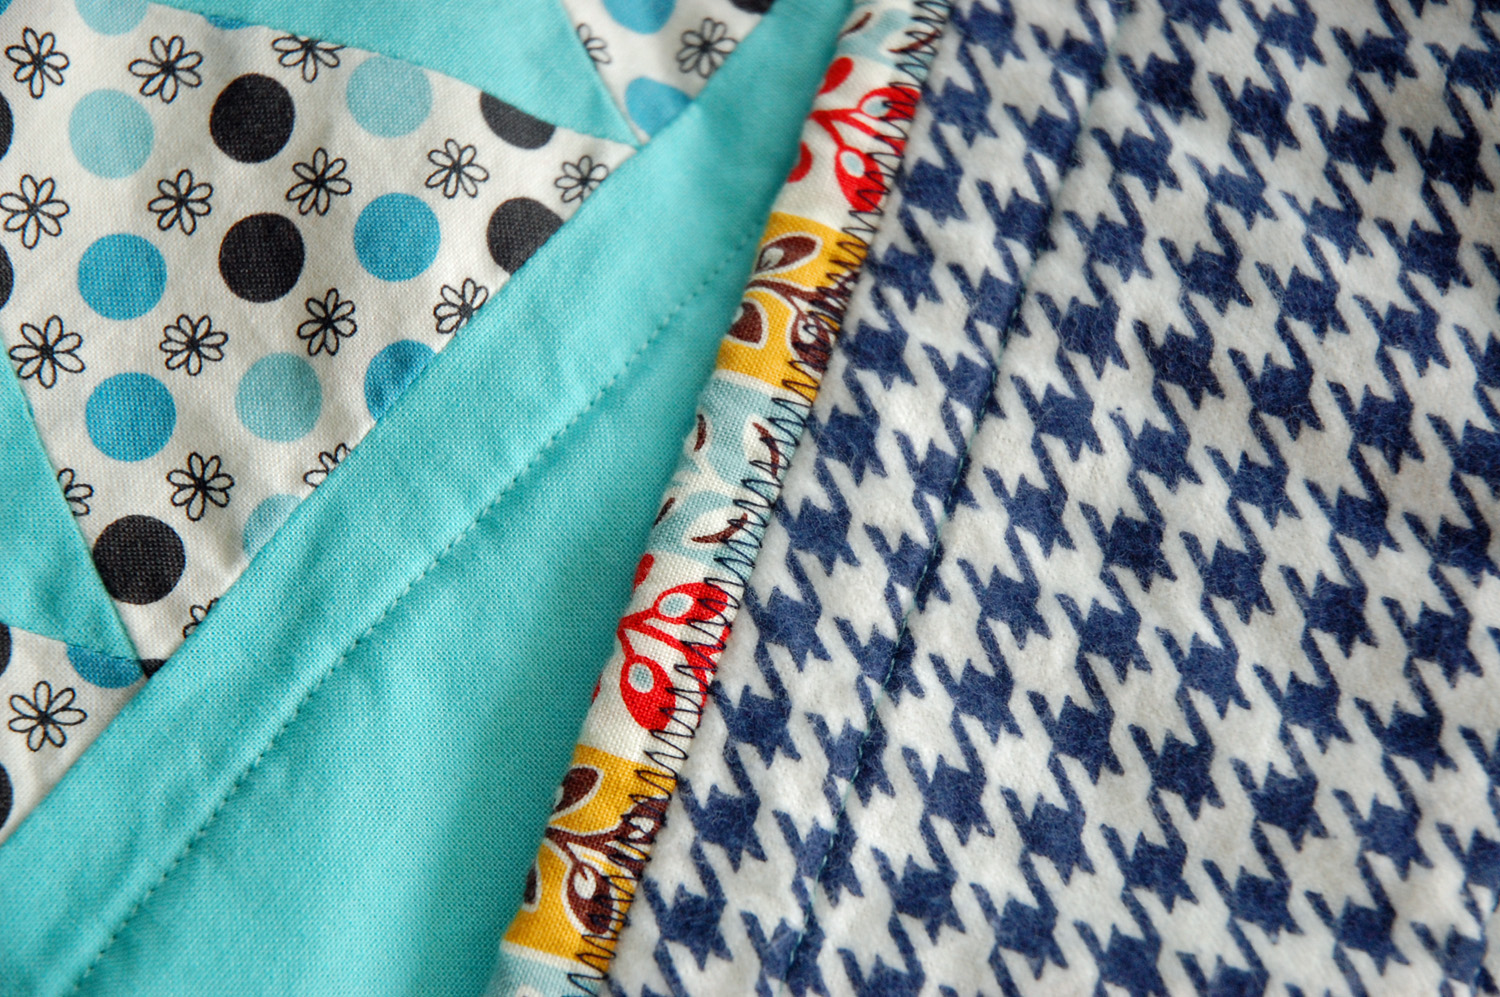
The inside of the book was created by decoupaging pages from an old book (one I bought at the same time) onto a piece of computer paper.  Once it dried I glues it to the inside of the book and detailed the edges with some decorative tape.  After gluing the pages in it was a little too thick to close, so I just cut a little of the bulk out of the middle and prettied it up with more decorative tape (I really don't think I could have used too much of that cute stuff).


Once completed I wrapped it up with some Festive Garland with more pages from the book.  Cute, no?  
The best part of the gift is that the gift card is for a local bookstore - talk about a themed present!


::Wishing you all a very Merry Christmas::
~Karina

Monday 17 December 2012

Game Board Box


If you have been visiting my blog regularly you'll know that I've been a part of the Ruby Star Wrap-Along that Sukie is hosting over at her blog.  The wrap-along is based on the book by Melody Miller (Ruby Star Wrapping) and has been a fantastic way for me to package a number of gifts this Christmas.

In light of one of the projects in the book, I've been keeping my eye out for an amazing-looking board game - one that I could use as part of a gift to someone.  While out thrifting the other day I saw this out of the corner of my eye...


The colours were perfect!  I didn't have a shoebox to use as a template (like in the Ruby Star Wrapping book), so after measuring a little I cut out this guy (and later cut off those two flaps on the top piece).


After taping it all together with some houndstooth duct tape and drilling some holes for the closure (yes, I got to use a POWER TOOL)...


The box was complete!

Materials
  • Old game board (thrifted)
  • Houndstooth Duct Tape
  • Two buttons from my stash
  • Hair elastic for closure


What will I be using it for, you ask?  I was thinking that I'd use it to gift some handmade items this Christmas, but then I needed a little box for Arlyn's Calico Critters...


and then I couldn't resist playing a little...  :)


We'll see if I end up using this as a gift box or not...it'll be difficult to take these little Critters out of their new home!  

~Karina


Ruby Star Wrap-Along - a little something in the mail!

I haven't had a chance to post it until now, but after submitting my first wrap-along entry I actually won the first week's prize - a funky clutch from Daphne at Octopurse and a $20 gift card for Pink Chalk Fabrics!  I received the clutch last week directly from Melody Miller and her 'wrapping' job of the shipping box was so sweet - I love the vintage book page (oh, and this is the box after my kiddos ripped it apart).


Thanks Sukie, Melody, Daphne, and Pink Chalk Fabrics...I'm a sucker for prizes!  :)

~Karina


Wednesday 12 December 2012

::Shirt::


This post has been a LONG time coming since I finished this shirt way back in JUNE (in case your wondering, June was that warm month a little while ago).  I love the material, the fit, the everything about this blouse (Butterick B5526).


Except the pockets.  When I make this one again the pockets will be lowered an inch or so.  I extended the length of the sleeves and the bodice 2 inches...love the length!


For my first shirt I think it turned out pretty well!

~Karina


Monday 26 November 2012

Sketch Book with Nursery Versery

I picked up some Nursery Versery prints a little while ago and I've been having a hard time cutting them - they're too darn cute!  I finally managed to bring myself to cut  into the Country Mice fat quarter an came up with this wonderful sketch book cover for a friend of mine who recently celebrated her birthday.

Front Cover
It was my first time improve piecing and trying the quilt-as-you-go method - both were a great experience (for a great quilt-as-you-go tutorial, click here).  I pieced sections together and then sewed them on to a muslin backing.  I didn't use any batting because I thought it would be too bulky for a sketch-book cover.  Who needs a puffy cover?! ;)  I think I would like the finished result a little better if i would have quilted more lines through the fabric - but I know for next time!

Back Cover

I love the end result, though I prefer the back of the cover to the front!  If I were to make these in larger quantities I'd definitely cut down on the number of fabrics used and make the pieces bigger to cut down on the time it takes to make them.

Inside


If you're interested in making a sketchbook/journal cover for yourself (or a friend, of course), here are a  few  tutorials you can try out:
Bloom and Blossom 
Stitched in Color
Leslie's Art and Sew

~Karina

Friday 16 November 2012

Ruby Star Wrapping ~ Week 2!


I'm going to keep this short and sweet. :)  Here's my Week 2 submission for the Ruby Star Wrap-Along!

The Soap Opera Box:


I love this little box - it's so simple and really makes a statement with that bright (thrifted) fabric!  To get the complete details and instructions, pick up one of Melody's new books, Ruby Star Wrapping.
Well hello there, little deer!  
Have an inspired weekend, everyone!

~Karina

Whole-Cloth and a Little Help, Please!

I have made my first whole-cloth quilt and I'm in LOVE with the material.

Front - Riley Blake~ Peak Hour Blue
Back - Riley Blake ~ Peak Hour Ads Green
The finished size is 39.5" x 44" and it's quilted simply with a few vertical straight lines.  Isn't it so sweet?  It would be super cute in a little boy's room!


The binding is machine stitched and I'm really loving the zigzag method!


The sad thing is that I'm not sure where this quilt will be going yet.  I'm thinking of opening an Etsy store to start selling a few baby/lap quilts but I really don't want to 'jump the gun'.  The other thing I need to look into further is how to price a quilt and all that jazz.  This one is pretty simple, but I want to get it right!  I would LOVE to hear your suggestions if you've ever sold a quilt or are in the market to buy a baby quilt - I need some help!


Hope to hear from you!

~Karina

Friday 9 November 2012

Ruby Star Wrap-Along: Chinese Takeout Box

As you can see by the button on the right side of my blog, I've joined the Ruby Star Wrap along!  There are so many crafty bloggers taking a part of this wrap-along - I'm so excited to see each of their interpretations of the wrapping projects.

The Book.  
The Ruby Star Wrap-Along is based on the book Ruby Star Wrapping by Melody Miller and Allison Tannery.  In a nutshell, the book highlights numerous ways to creatively package gifts in a way that can be used again in some manner.  Even some of the wrapping projects are used from items that have been previous loved!

Here is the project that I completed for the first week: the Chinese takeout Box!


This project was very simple - just a little bit of fabric, fusible interfacing, hot glue, a ribbon, and TADAA!


If you'd like to get in on the wrap-along action, there's still plenty of time to join (and tons of sweet prizes available)!  Visit Sukie's blog and pick up the book online.

~Karina

Monday 5 November 2012

Bunting Quilt

Do you ever feel like the project you're working on isn't going to turn out?  I have the tendency to think this about almost ALL of the projects that I work on, and for me it leads to, "hmm...maybe I'll start something else and come back to this later."  I do it all the time!

So, when I felt that familiar feeling coming back I fought the urge to give up and pressed on!  I'm loving the result...
Fabrics - Denyse Schmidt ~ Flower & Dot in Turquoise Flower & Dot in Green,
Michael Miller ~ Groovy Guitar in Lime
Inspiration from Knotty Bits
The quilt backing is a fleece gingham that is ever-so-soft and hug-able...I have to admit, I almost took a nap on it!  :)
yup...that's two pairs of legs behind that quilt!  :)
finished dimensions: 40"x 49.5"
Once the quilt top was completed I felt like it needed some more warm colours - red/orange/yellow.  I didn't have quite enough of Denyse Schmidt's Seedpod in Turquoise so I supplemented with the Turquoise Dots and Stripes from Piece O' Cake Designs for Robert Kaufman.  

quilt binding Seedpod Stripe in Turquoise and Turquoise Dots and Stripes 


I knew from the beginning that I wanted to straight-line quilt this baby, and I really love the result.  There's something about straight lines that registers with me...maybe I have a little bidda ocd?  Thank you, painters tape!


My spool got dangerously thin while I was quilting this one...oh dear!
 I decided to machine bind this quilt using the zigzag binding method even though the first time I attempted this method the results were not even close to acceptable!  This time I took my time (that's the key, folks!) and it turned out wonderfully! It was much faster than hand-binding and I love the result.  If you're interested in trying it out for yourself, check out this tutorial!

zigzag binding - quilt front

zigzag binding - quilt back


 I gifted this one on Saturday to a friend who's having her first baby in a few weeks.  To be honest, it was hard to part with but the side of me that LOVES giving things away won that war!  :)

~Karina

Thursday 1 November 2012

::A Little Dose of Nostalgia::

I found this gorgeous wrapping paper while thrifting the other day:


I'm not sure what I love about it the most...the texture, the sense of nostalgia that it brings, or the fact that it reminds me of a quilt.  Anybody out there know who manufactured this?

Tuesday 30 October 2012

Bear Carrier

I forgot about this one!  Here's the Oliver + S Bear Carrier (from Little Things to Sew) that I made for Arlyn for her 2nd birthday.  To be honest, she hasn't really grasped on to the whole 'I want to carry my lion around in a carrier' thing quite yet, but she's the kind of girl that definitely will (I think it's a little bit old for her at the moment).

 I love this sequence of photos...
busy workin'...
gotta figure this out...
huh?...
gotta go!


Mommy and Arlyn

~Karina