Showing posts with label Quilts. Show all posts

Monday, 28 January 2013

A Pillow.

I have wanted to try out Elizabeth Hartman's Mod Mosaic method of piecing and have finally found the perfect reason: a cute little person!  My nephew Joey turned one last week and I decided to make him a pillow to match the quilt I made for him (which was my VERY first quilt).


The front of the pillow is machine quilted and lined with Muslin, and the back of the pillow is lined and the envelope-style backing is bound with the beauty of Violet Craft`s Peacock Lane. Of course, in my rush to get out of the door I forgot the take a picture of the back of the pillow and a close-up of the pebble quilting on the front (on the flannel).


I hope you like your pillow, little Joey!  I'll be sure to post a pic on here soon of him - and then your heart will melt because he is SO DARN CUTE!  :)


~Karina


Monday, 5 November 2012

Bunting Quilt

Do you ever feel like the project you're working on isn't going to turn out?  I have the tendency to think this about almost ALL of the projects that I work on, and for me it leads to, "hmm...maybe I'll start something else and come back to this later."  I do it all the time!

So, when I felt that familiar feeling coming back I fought the urge to give up and pressed on!  I'm loving the result...
Fabrics - Denyse Schmidt ~ Flower & Dot in Turquoise Flower & Dot in Green,
Michael Miller ~ Groovy Guitar in Lime
Inspiration from Knotty Bits
The quilt backing is a fleece gingham that is ever-so-soft and hug-able...I have to admit, I almost took a nap on it!  :)
yup...that's two pairs of legs behind that quilt!  :)
finished dimensions: 40"x 49.5"
Once the quilt top was completed I felt like it needed some more warm colours - red/orange/yellow.  I didn't have quite enough of Denyse Schmidt's Seedpod in Turquoise so I supplemented with the Turquoise Dots and Stripes from Piece O' Cake Designs for Robert Kaufman.  

quilt binding Seedpod Stripe in Turquoise and Turquoise Dots and Stripes 


I knew from the beginning that I wanted to straight-line quilt this baby, and I really love the result.  There's something about straight lines that registers with me...maybe I have a little bidda ocd?  Thank you, painters tape!


My spool got dangerously thin while I was quilting this one...oh dear!
 I decided to machine bind this quilt using the zigzag binding method even though the first time I attempted this method the results were not even close to acceptable!  This time I took my time (that's the key, folks!) and it turned out wonderfully! It was much faster than hand-binding and I love the result.  If you're interested in trying it out for yourself, check out this tutorial!

zigzag binding - quilt front

zigzag binding - quilt back


 I gifted this one on Saturday to a friend who's having her first baby in a few weeks.  To be honest, it was hard to part with but the side of me that LOVES giving things away won that war!  :)

~Karina

Wednesday, 24 October 2012

Champs Elysees Baby Quilt

A simple little quilt made for a sweet little baby girl.
front
Isn't this material the cutest?  Aux Chanps Elysees in Pink
back

free-motion quilted

Add caption
binding
I can't wait to get this quilt all wrapped up!

~Karina


Thursday, 3 May 2012

Elliott's Robot Quilt...it's DONE!

It only took me four months, but Elliott's Robot quilt is finally finished!  
Front
Back
Okay, so I didn't work on this thing non-stop...I had a few (understatement) breaks along the way (like when I REALLY didn't feel like piecing the back of the quilt, or fixing the 8-block section that I sewed in wrong, or when I was waiting for my backing fabric to come in the mail and for quilt batting to go on sale), but the breaks were VERY good for me! 

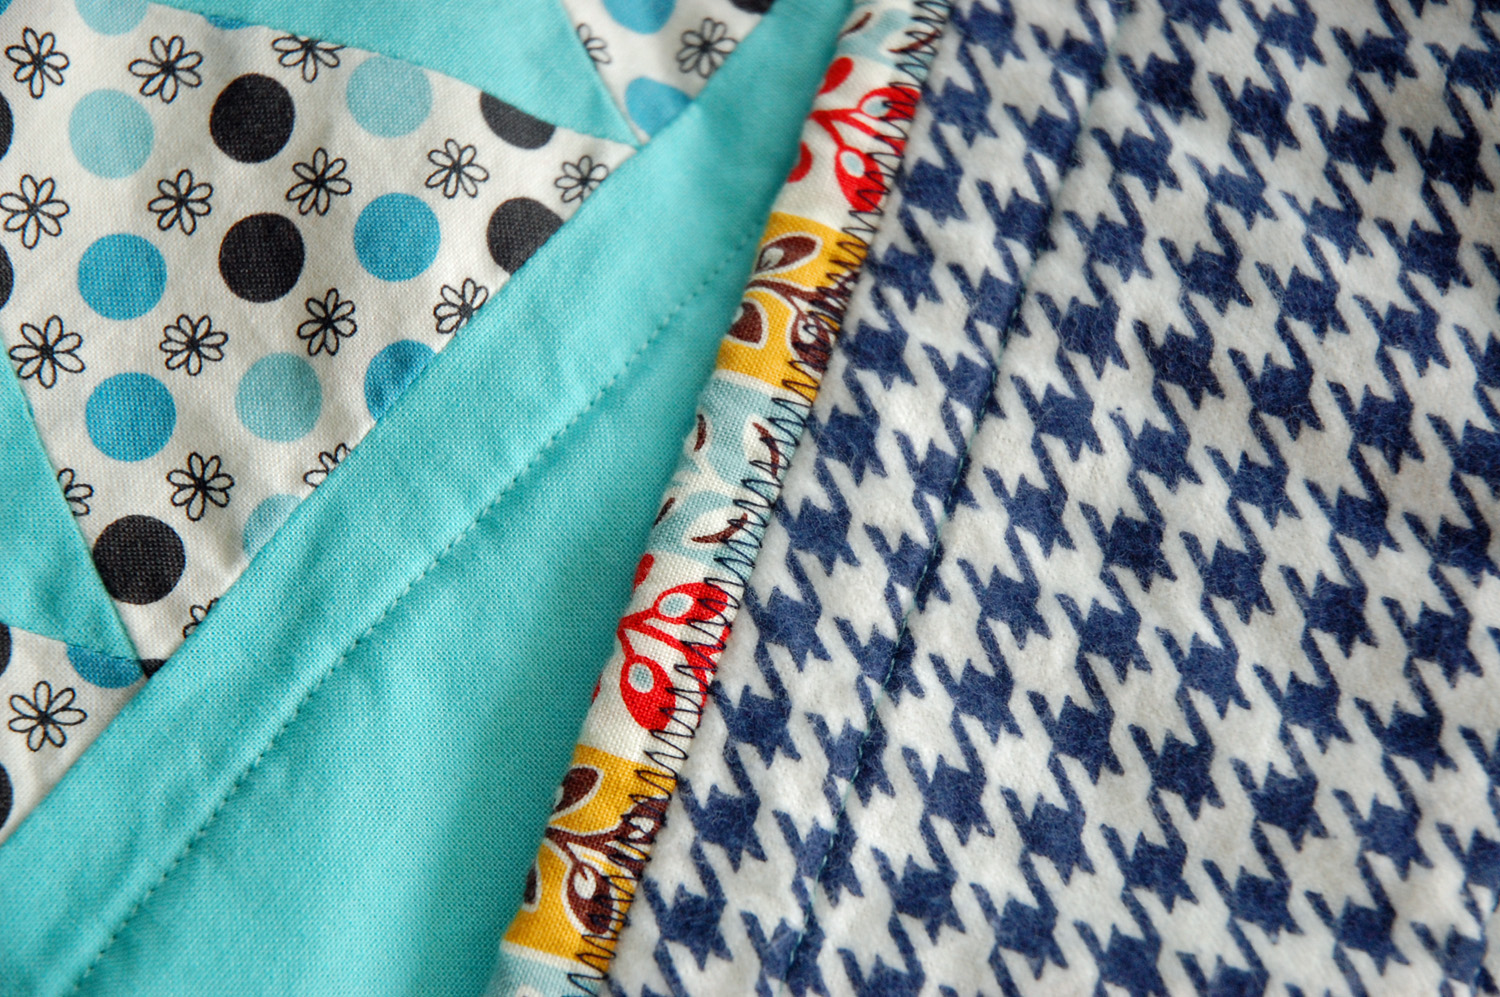
After piecing and sandwiching the quilt together, I decided to quilt this guy around the larger diamond shapes in light grey thread with my walking foot. I knew that the size would pose some problems on my tiny little machine, but with some shoving careful rolling of the quilt I managed to get the entire thing quilted (though I did have some issues with the material shifting...next time, spray basting!)  Ahhh...that last line of quilting felt sooooo good! 

The hand binding took a number of hours...I think I'm going to try something different next time. I've tried binding a quilt using my machine entirely (zigzag method), and I had a really hard time with it. Maybe it just takes some practice (like most things, I guess). I think that for the two quilts that I have ready to be quilted I'm going to try machine biding with my walking foot based on the tutorial found here by Rita at Red Pepper Quilts.


I was hoping to have the quilt done for Elliott's birthday on April 30th but wasn't able to get the binding handstiched on until May 1st. I think he'll forgive me though. :) Last night he told me that he's going to keep this quilt forever and then he'll ask his 'boy' if he wants to have it.  Tooooo cuuuuute!


Elliott truly loves his new quilt (which is crumpled up on the chair in the background)!  :)
The finished quilt measures about 70"x90"  and is way too big for Elliott's current bed!  The ideas was to make one that would fit a bed that's a bit bigger than his current one so that he can use it longer (and let's be honest here - as much as I'd love to make him another quilt, it's not going to be happening for a loooong time)!  I think we'll just have to master tucking the bottom of the quilt under the bed so that it looks like a perfect fit...we're so sneaky!
This is my favourite intersection of the quilting!


So that's it.  Completely worth the time, effort and love that was put into it.  It feels really  good to give my son something that I poured myself into...and it's something that he can keep for (hopefully) a very long time.  Life is good.  :)

~Karina

Monday, 26 March 2012

Scrappy Mini Quilt

When Rachel at Stitched in Color announced her Festival of Scrappiness, I knew that I wanted to make a little mini scrap quilt for Arlyn's stuffed animals that she fancies.  I had some extra Loulouthi fabric sitting around from Arlyn's curtains in her room, and thought that I would put it to good use! 
I discovered some beautiful linen while out thrifting the other day (yes, someone had gotten rid of their linen scraps...thank you!), and thought that it would pair nicely with the loulouthi.  Add a few more scraps, and here is the finished product!

It measures about 15x15...perfect for covering up a little stuffie! 
The quilting was an attempt at the orange peel design...I thought I might as well try it out on a mini quilt before giving it a whirl on a larger quilt (which is the same story for the binding...it was my first time entirely machine binding a quilt and I think I'm going to re-bind it so that it's a little nicer).  I attempted the quilting with the darning foot first, but I couldn't quite get the stitch length to be uniform with this pattern.  I've used free-motion quilting before here and here, but this design was a little trickier.  Because my squares were pretty large (finished 2.5") I decided to try out my walking foot for the quilting...and it worked!  Since my squares are a little 'off' in a few areas the pattern isn't perfect, but I'm happy with it (for my first try, at least)!

I think Arlyn is going to love it...she has three little animals that she's been carrying around lately (yes, sometimes all at once) so it may be a little hard to decide who will get the quilt each night!

The three animals of choice!

Update.  Okay, Arlyn does love it.  Here's a few photos!

The three choice animals testing the mini out for size!

Testing out the quilt
Pushing the stuffies around

Picnic time!

Why wouldn't I get in here!

Monday, 16 January 2012

Hearts and Other Parts

Because I was away for the weekend (back home, celebrating my 30th...AHHH!) I didn't get ANYTHING sewing-related completed.  But I had a wonderful weekend with some close friends and family!  When I returned on Sunday evening I wasn't planning on diving into any craftiness but after 'retreating' to my bedroom I came back downstairs to get something (now I can't even remember what it was) and saw some fabric.  And then I thought of Valentine's day.  And then some ideas went whirling around in my head.  I cut out a couple of these hearts and have a great idea in mind!  So, you'll have to some back to see what these turn into...


I'll be scrounging through these bins to see what other wonderful fabric has been lost in the madness.  I'm coming for you pre-hearts! 


Elliott's quilt is gloriously on it's way...I'm so happy I decided on such a simple design!


The bad news? I'm still waiting on fabric. Yep, still! One print is still on it's way and I can't continue without it! Ah well, it will give me time to start and finish something else...tonight (perhaps those little hearts)!

I have to let you know.  I've registered for Sewing 101 at the local college!   I'm thinking long-term here...I'd really like to eventually get into pattern making (for fun), and in order to take those courses I have to have the pre-requisites under my belt.  I think that parts of the course will be quite easy peasy for me, but I don't have a lot of experience at sewing clothing and using patterns, so this should be interesting!  And, I'll be able to hopefully hone my zipper-installing skills!  :)  I received my sewing machine as a birthday present last year from my Husband, and really started using it in this past September.  I've been able to learn how to quilt by reading books and articles, etc., and I've been enjoy it so much!   But right now I think that I want to expand my sewing repertoire and see where it leads. I think eventually I'd like to focus on one main area, but for now, I'm going to explore all my sewing options!  Plus, being new to the area AND a stay-at-home mom, I'm still in need of some social outlets.  :)

Hoping today was a great start to the week!
Karina


Tuesday, 27 December 2011

Quilt Number ONE!

So, I finished my very first quilt way back in October, but since it was a Christmas gift for one of my sisters, I had to wait to post the finished product (and also tried to keep my mouth shout about it...that was difficult)!  She's having her second baby boy in a few weeks and I hope this quilt will make him feel welcome...though, I guess it's a little big right now.  :)

Here it is!


I selected all the fabrics online from Hawthorne Threads and (as usual) fell in love when they arrived in my mailbox! 

The back:
I used my good old (okay, it's not that old) Kenmore sewing machine to free-motion quilt this puppy and It turned out great!   I did have numerous run-ins with my bobbin thread that would snap every few seconds, but once that was under control it only took a few hours to quilt.  Thus, my love of quilting had begun!  Thanks to Elizabeth Harthman's book The Practical Guide to Patchwork for the pattern and inspiration!

Click here to see my second quilt!

Monday, 19 December 2011

Quilt Number Two...

Okay, so I know that there is no post on my blog called 'Quilt Number One,' but you'll understand why I posted this one first in a few weeks!  I have a friend who is having a baby (and I'm not telling who it is in case she is reading this!), but again, in keeping with my inability to keep gifts a surprise, I just had to post photos of the quilt I made for her baby!  Here it is!


The quilt was made mainly from scraps that I had from previous projects, and I think that the colours look pretty good together considering the only thing I bought for this project was the white sashing.  I had originally cut some 5" squares into triangle quarters for a project that I was starting but ended up kiboshing it because it didn't look quite right.  So, instead of the 'easy' formation of pinwheels (like found here), I pieced all of the triangles individually.  This took much time, and I admit, I almost gave up (pinwheels are not my favourite right now). :)  I also didn't use any sort of pattern, so I had to change a few things along the way which added to the project time.  But, now that it's finally complete I can tell you that it was worth the effort!  Now for some more pics (sorry they're a bit wonky...I really need to work on my photography skills)!

Front:

  Back:
I used a meandering stitch to machine quilt the entire piece...I think that using a walking foot and quilting with straight lines would have been beautiful as well, but I don't have a walking foot yet (I really need to get me one of those)!  Here's a close up of the meandering stitch:


I'm thrilled to be able to wrap this one up...look out, it might be coming your way!